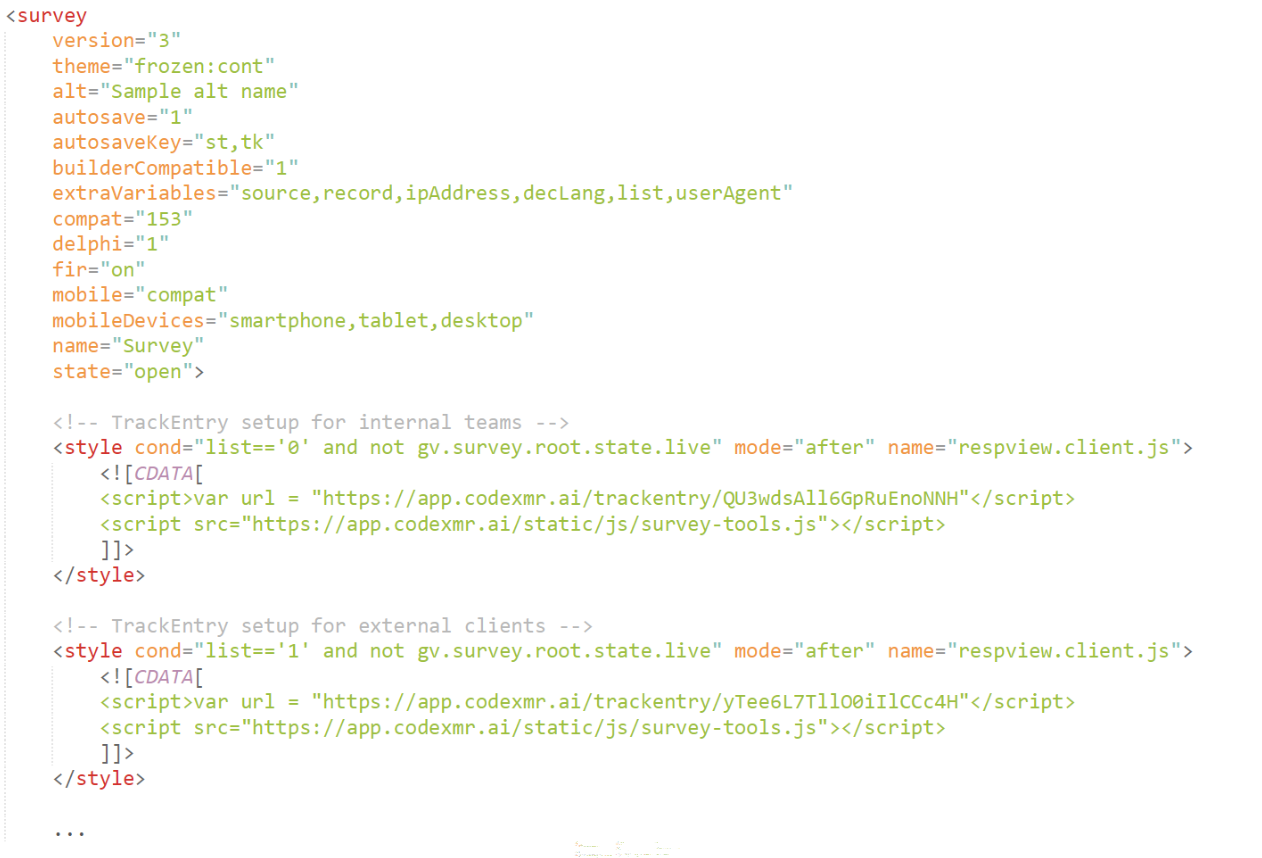
To streamline your survey testing and feedback process, you can directly integrate a TrackEntry project with your Decipher survey. This allows testers to report issues and leave comments without leaving the survey link.
When the integration is active, a TrackEntry icon  will appear in the survey interface. Testers can click this icon to open the tool and submit feedback related to the specific question they are viewing.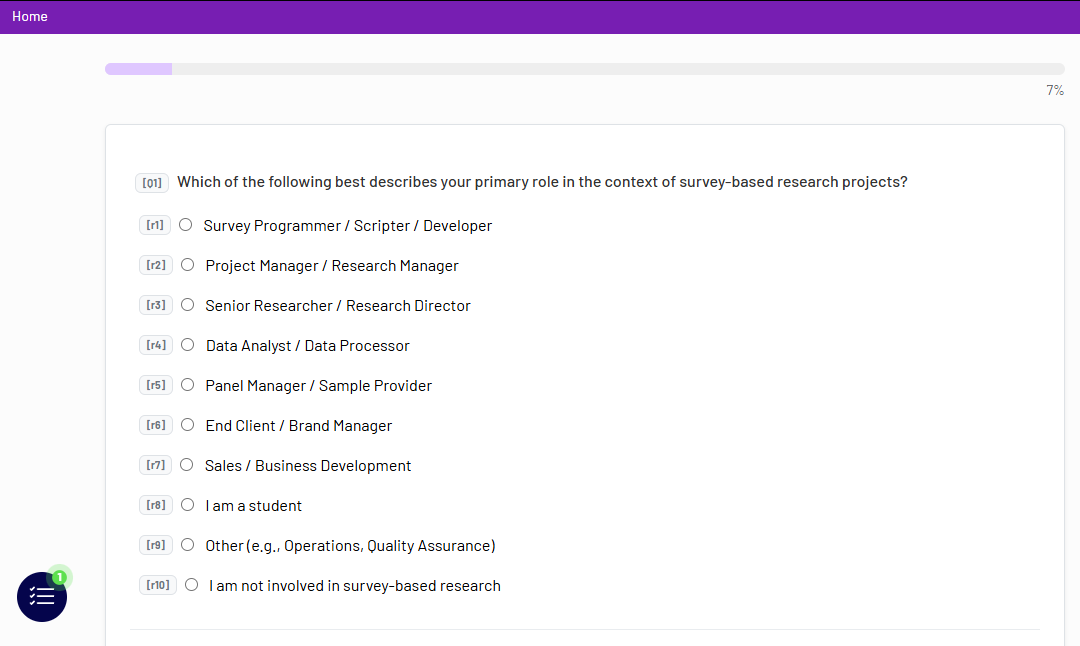
1. Connecting a Single TrackEntry Project #
To connect a TrackEntry project to your Decipher survey, you need to add a small code snippet to your survey’s XML file.
Step 1: Open your survey’s .xml file
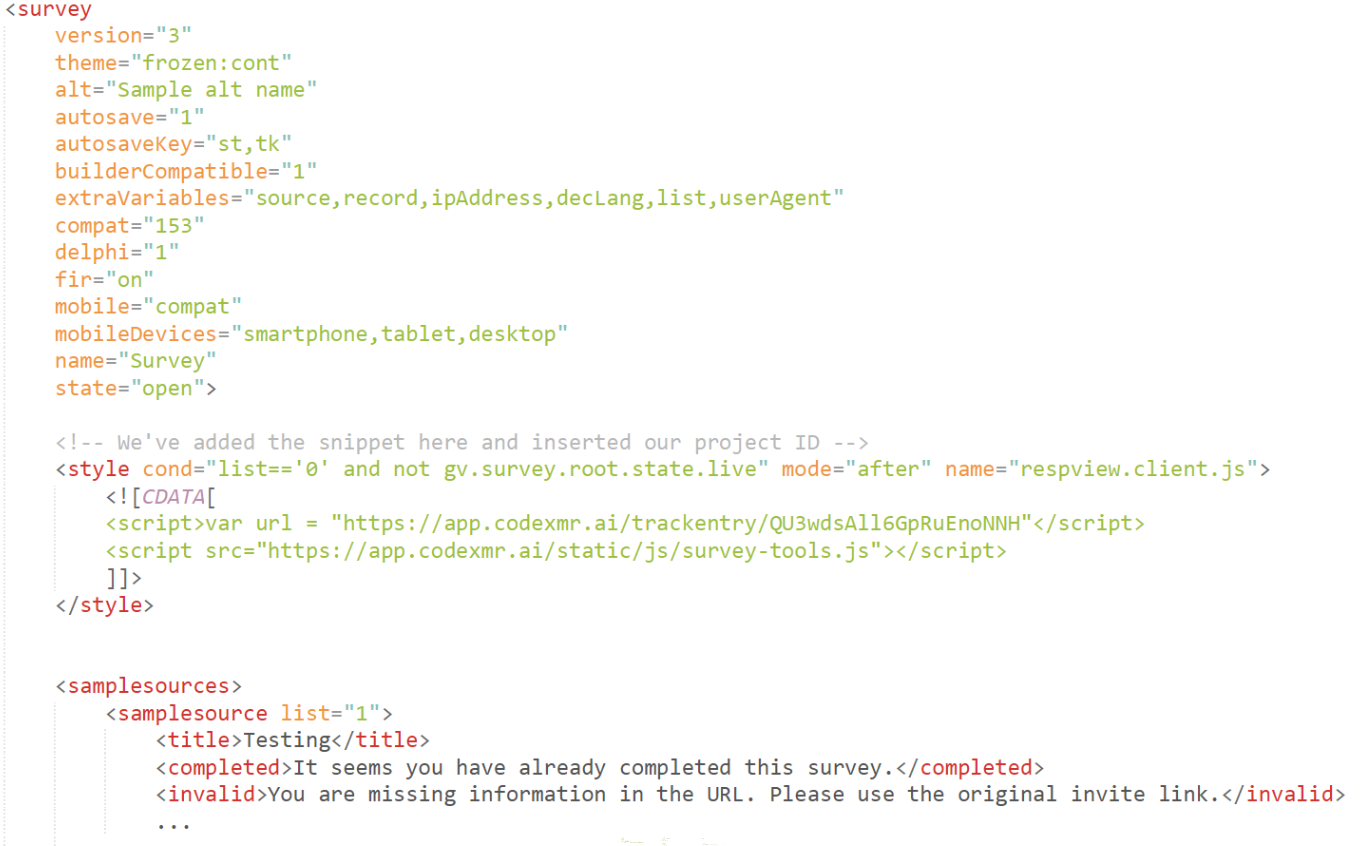
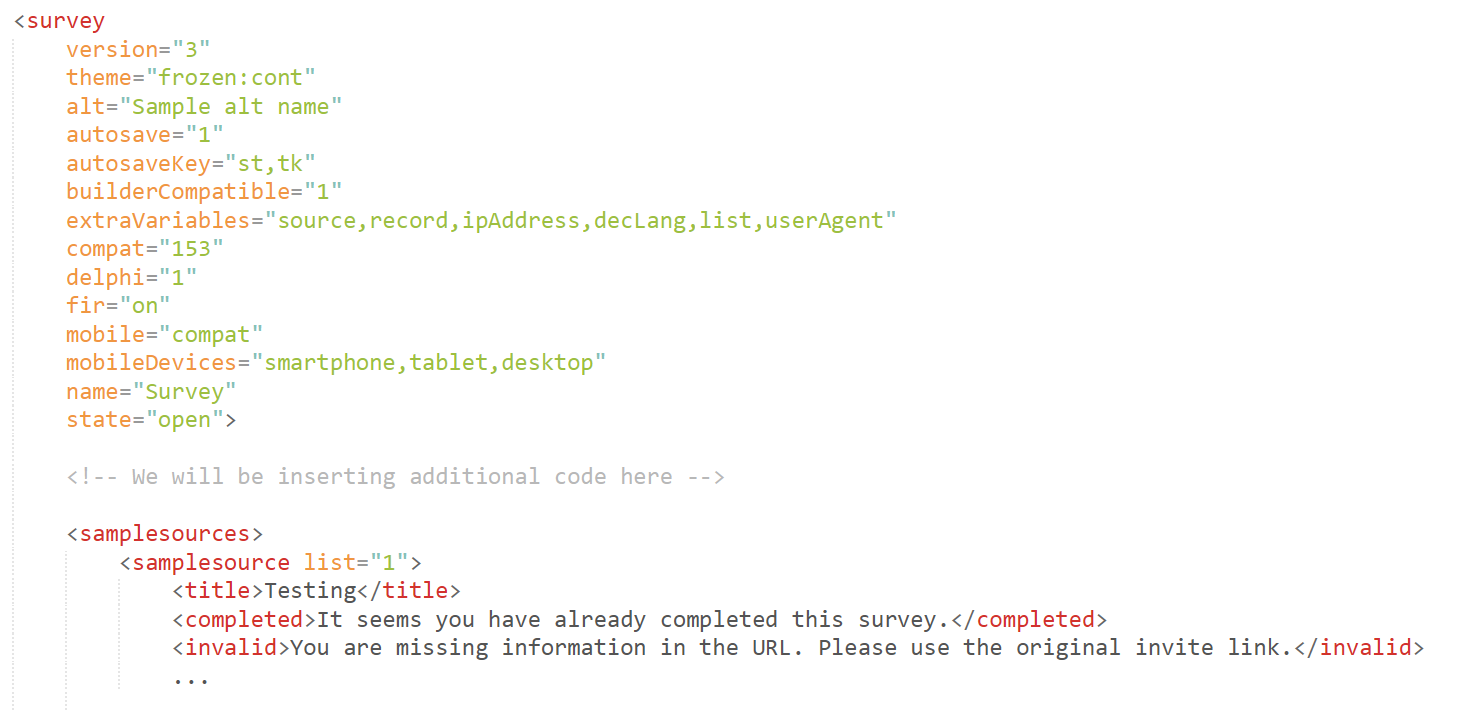
We’ll be inserting some additional code to the top of your .xml file. Let’s say your file looks like this:
Step 2: Copy additional code to your file
Paste the following code snippet right after the opening of the survey tag (i.e., at the same place where the “We will be inserting additional code here” line is in the above example).
<style cond="list=='0' and not gv.survey.root.state.live" mode="after" name="respview.client.js">
<![CDATA[
    <script>var url = "https://app.codexmr.ai/trackentry/PutYourProjectIdHere"</script>
<script src="https://app.codexmr.ai/static/js/survey-tools.js"></script>
]]>
</style>"</script>
<script src="https://hub.kalever.net/static/js/survey-tools.js"></script>
]]></style>
Step 3: Add your project’s ID
Find your unique ID in the system on the Project Dashboard under Project Information.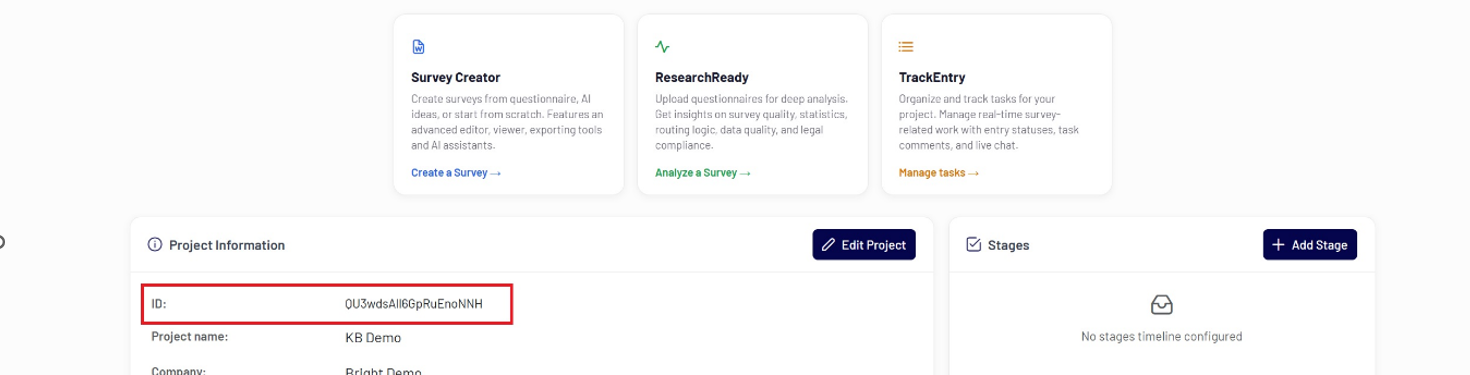
Then replace the “PutYourProjectIDHere” part in the code you copied with that ID.
Step 4: Configure the display condition
The code we’ve provided is set to display when a specific condition is met. In our example, this is “list==’0′ and not gv.survey.root.state.live”.
The first part (the list parameter) points to the parameter with the same name in your Decipher test link. We’ve set it to “0”, but you can change it to whatever you use for internal testing.
The second part acts as an additional security layer, so that the code snippet only activates when a project is being tested and is not live.
After we’re done, the beginning of your .xml file should structurally be looking like this: